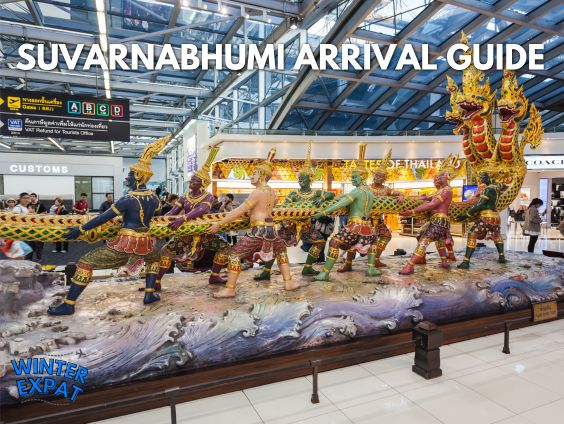
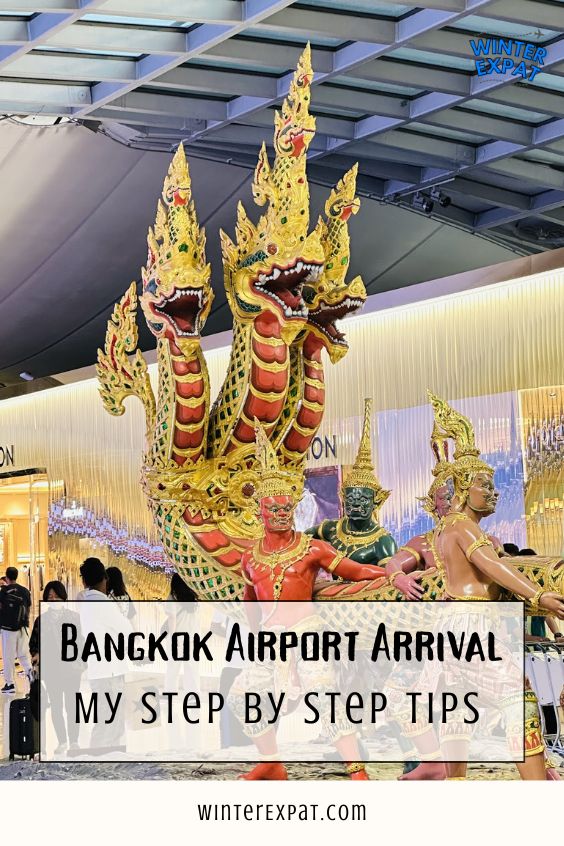
Suvarnabhumi airport arrival guide: My step-by-step tips for landing in Bangkok
Z and I landed in Bangkok in the evening, and the first thing I noticed was how busy and warm it felt. Getting through the airport was a bit of a process; it took us about an hour to check in and get past the main desk. You have to fill out a form with details about where you are staying and how long you plan to be in the country, so make sure you have your hotel address handy.
My favorite part was finally getting our bags, which was actually very easy and everything arrived safely.
*This post may contain affiliate links to support the cost of this blog. At no cost to you, I may make a small commission if you purchase through these links. Read our Privacy Policy HERE
What did we to at the destination section?
The vibe of the airport is high-energy, but it can be a bit confusing if you don’t know where to go. Once we got our luggage, we headed downstairs to find a way to our hotel. I loved the feeling of finally being in Thailand after our long journey, even if I was a little tired from the flight. It was a great start to our 35-day adventure.

Our Adventures in Thailand
Z and I are on a big 5-week trip through Thailand, spending plenty of time in both Bangkok and Pattaya. You can follow our adventures and see exactly what we’re up to through this blog and on our social media pages.
Pin this to your Pinterest board for later. Follow me on Pinterest for more crochet inspiration. Follow me on Instagram, Tiktok and Facebook @WinterExpat.

- What did we to at the destination section?
- Our Adventures in Thailand
- Travel Info Box: Suvarnabhumi Airport
- Why you’ll love visiting this place
- Budget Breakdown Box: Bangkok Arrival
- Self-guided vs. Guided vs. Solo Traveling
- How to get to the city from Suvarnabhumi
- Top things to do inside the destination
- Did you know?
- Tips For Visiting Bangkok Airport
- Is the Thailand digital arrival card mandatory?
- How do I find the grab pick up at Suvarnabhumi?
- Where is the best place to exchange money at Bangkok airport?
- Is there a train from Suvarnabhumi airport to Bangkok?
- Final Thoughts
- Learn more about Bangkok
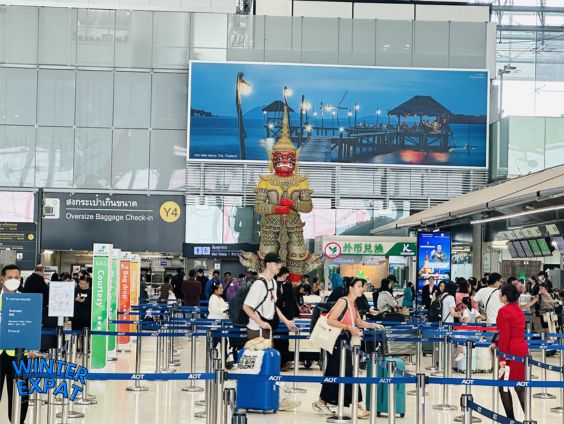
Travel Info Box: Suvarnabhumi Airport
BEST FOR: International travelers and culture fans starting their Thai journey.
TIME NEEDED: Plan for at least 1-2 hours to get through customs and baggage claim.
ACTIVITY LEVEL: Moderate—there is a lot of walking through the terminals.
PRICE: The airport itself is free, but you’ll need around 500 Baht (£12) for a ride to the city.
DRESS CODE: Casual is fine for the airport, but keep a hoodie ready for the strong AC.
CROWD LEVEL: Very crowded, especially in the evenings.
BEST TIME TO GO: Evening arrivals are common, but morning is often slightly quieter.
FACILITIES: Toilets, cafes, water stations, and shops are everywhere.
TRANSPORT: Use the Grab app or head to Level B for the Airport Rail Link.
Why you’ll love visiting this place
You will love landing here because it truly feels like the gateway to a whole new world. Even though it’s a huge airport, it is very well organized, and the staff are used to helping travelers from all over. It’s the first place where you get to taste the energy of Bangkok.
Z and I also liked that the airport has everything you need to get settled right away, from places to get a snack to areas where you can pick up a local SIM card. It makes the start of a 35-day trip much less stressful when you know you can find your feet quickly.
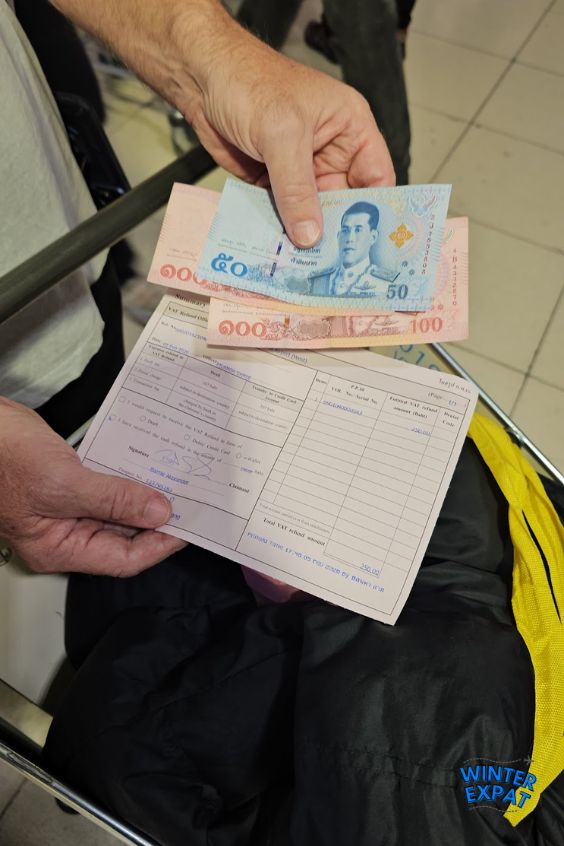
Budget Breakdown Box: Bangkok Arrival
TICKET COST: Free (included in your flight)
TRANSPORT COST: 500 Baht (£12) for a Grab car to Sukhumvit
COFFEE/SNACK: 100-200 Baht for a quick drink or bite
HIDDEN FEES: None
TOTAL EST. COST: 700 Baht (£16) for a smooth arrival and ride
Self-guided vs. Guided vs. Solo Traveling
I think it is much better to handle your airport arrival on your own. Some people pay a lot of money for a guided transfer, but Z and I found it was much cheaper to just use the Grab app ourselves. It gives you the freedom to move at your own pace without waiting for a driver with a sign.
If you are traveling solo, the airport is very safe and easy to navigate because there are signs in English everywhere. However, having a partner like Z is great because one person can wait for the bags while the other person gets the eSIM sorted out or finds the nearest ATM.
How to get to the city from Suvarnabhumi
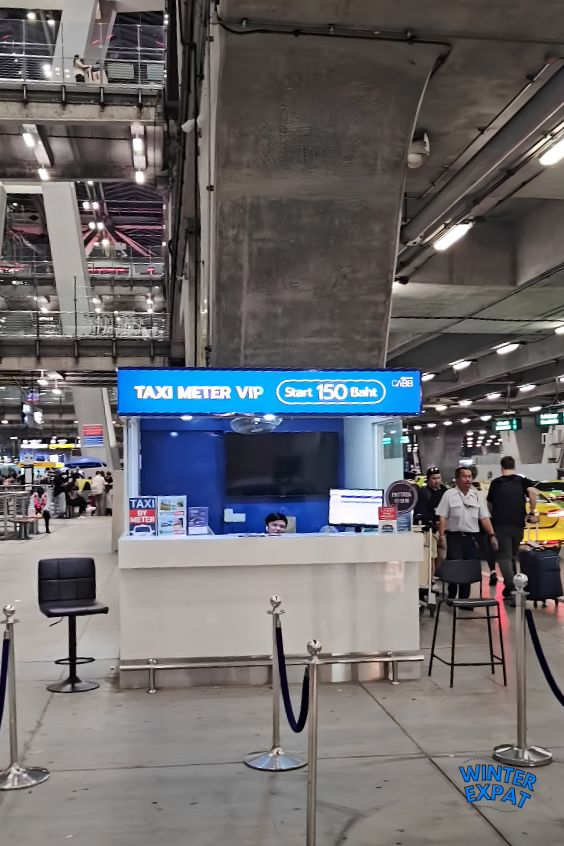
The best way to get to your hotel is to download the Grab app before you land. It cost us 500 Baht for a 25-kilometer ride to our hotel near Sukhumvit, which was very reasonable. Avoid the taxis right outside the exit; instead, head down to Level 1.
Once you are on Level 1, you need to cross the street to the “Grab” collection points. They are labeled with letters like A, B, C, and D. If you are on a super tight budget, you can go even lower to the basement level and take the public train (Airport Rail Link), but for us, the Grab was worth it since we had heavy luggage.
Top things to do inside the destination
- Set up your internet: Download the Airalo app and get the dtac 30-day unlimited plan for £27. It’s the strongest and cheapest one we found, and it works perfectly as soon as you land.
- Find the right ATM: Look for a yellow ATM to withdraw cash, or use a card like Revolut to avoid extra fees. Don’t use the exchange booths inside baggage claim; the rates are much better once you’re in the city.
- Fill out your arrival card: You’ll need to show your Thailand Digital Arrival Card (TDAC) or a physical form at passport control, so have your QR code or pen ready.
Did you know?
- Fun Fact 1: Suvarnabhumi Airport has one of the tallest free-standing control towers in the entire world!
- Fun Fact 2: The name “Suvarnabhumi” was chosen by the late King Bhumibol Adulyadej and it means “The Golden Land.”
Tips For Visiting Bangkok Airport
- Skip the airport exchange: Like I mentioned, the rates aren’t worth it; wait until you get to a bank machine in the city or use your Starling or Revolut card.
- Head to Level 1 for Grab: Don’t get confused by the taxis on the main exit level; the app drivers have their own spots across the street on the floor below.
- Bring your own tissue: While airport toilets are usually fine, it’s a good habit in Thailand to carry a small pack of tissues with you just in case.
- Check-in Time: It took us about an hour to get through the arrival process, so don’t be in too much of a hurry.
- Baggage: Our luggage came out quickly and with no issues at all.
- Grab vs. Bus: While the bus or train is a lot cheaper, a Grab is much more convenient if you have heavy bags or are traveling with a partner.
Is the Thailand digital arrival card mandatory?
Yes, it is something you really need to have ready when you land. It’s a form where you tell the government who you are, where you’re staying, and how long you’ll be in Thailand.
Z and I made sure to have our information ready before we even got in the passport line because it makes everything go much faster. If you don’t do it online beforehand, you might have to fill out a paper version, which can slow you down when you’re tired from your flight.
How do I find the grab pick up at Suvarnabhumi?
Finding your Grab driver can be a little tricky if you stay on the main floor. After you get your bags, you need to go down to Level 1. Exit the building and cross the road to the area where the cars are parked. Look for the signs that say Grab and have letters like A, B, C, and D. Your app will tell you which lettered zone to wait in, and your driver will meet you right there.
Where is the best place to exchange money at Bangkok airport?
Honestly, the best advice I can give you is to not exchange your money at the booths near the baggage claim. The rates they give you are usually much worse than what you will find later. Z and I prefer to use a bank card like Revolut or Starling at an ATM instead. If you absolutely must have cash right away, just change a very small amount at the airport and wait until you get to a local exchange in the city for the rest.
Is there a train from Suvarnabhumi airport to Bangkok?
Yes, there is a great train called the Airport Rail Link. You have to go all the way down to the basement level to find it. It is very cheap and fast, but it only stops at certain stations. If your hotel is not near a station, you might still have to take a taxi or a bus afterward. Since Z and I had a lot of bags for our 35-day stay, we decided to take a Grab instead so we could go straight to the hotel door.
Pin this to your Pinterest board for later. Follow me on Pinterest for more crochet inspiration. Follow me on Instagram, Tiktok and Facebook @WinterExpat.
Final Thoughts
Landing in a new country can be overwhelming, but Bangkok’s airport is a great place to start your adventure.
As long as you have your Grab app and your eSIM ready, you will be out and on your way to your hotel in no time.
Make sure to save this post for your future travel plans so you don’t forget where to find your ride!
Learn more about Bangkok
- Wat Pho Reclining Buddha: The Complete Visitor Guide
- Massage in Bangkok: My Top 10 Picks and How to Avoid Getting Scammed

- Wat Suthat and the Giant Red Swing: Bangkok’s Peaceful Side

- Bangkok Grand Palace Guide: Dress Code, Tickets, and Scams

- Suvarnabhumi airport arrival guide: My step-by-step tips for landing in Bangkok